Pencil pleated curtains are excellent for home decoration and even more if you have blackout lining to your curtains. Pencil pleats give that neat finish as opposed to the tailored look, and blackout lining offers exclusion of light and privacy. The idea of sewing your curtains might at first come across as challenging, but it actually forms part of an exciting process when well introduced.
In this blog post I am going to explain how to sew brilliantly looking pencil pleat curtains out of blackout lining with detailed instruction for beginners like me. When you’re done reading this guide, you’ll be able to create beautiful curtains that are decorative, warmer and more efficient in energy use.
What Are Pencil Pleat Curtains?
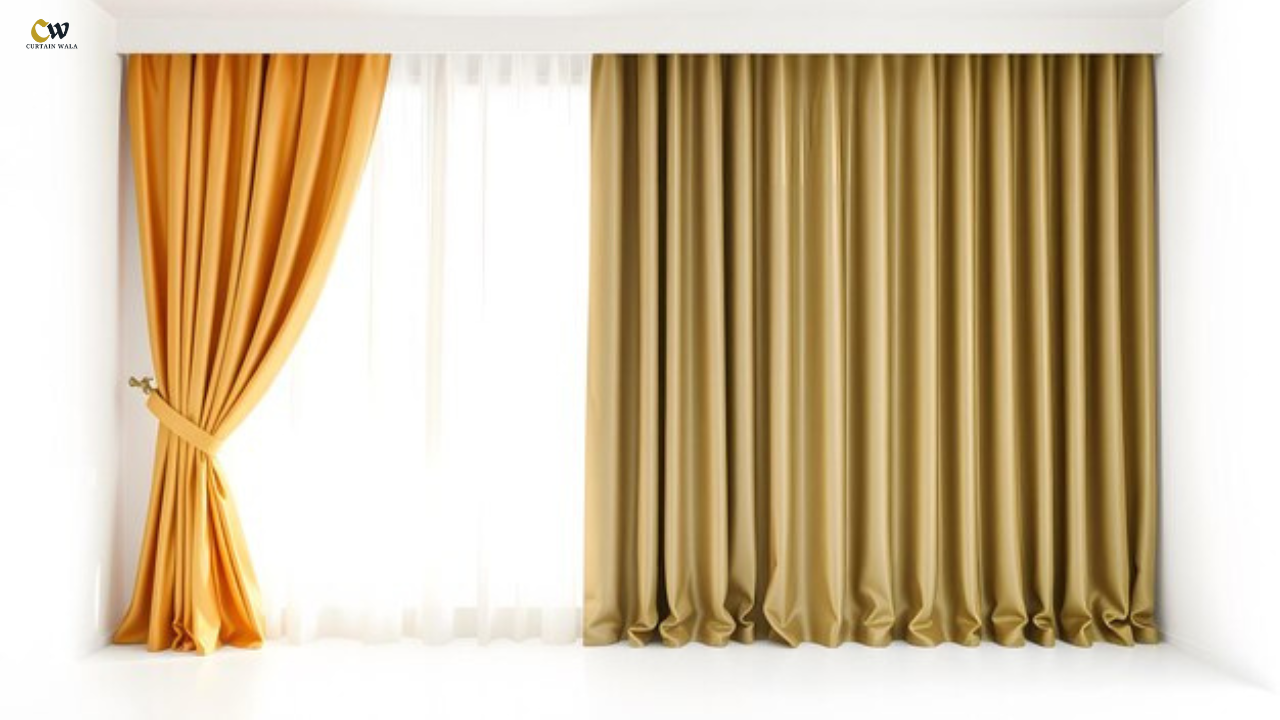
Let us briefly describe what pencil pleat curtains are before going any further, so that you understand what product you will be dealing with. Pencil pleats are groups of little folds that look like a set of pencils when squeezed together. It gives a feeling of more tradition yet can also add a modern twist when installed in the rooms you intend. The pleats are nice since you have wires sown along the header tape at the top of the curtain; you can then control the width to match the rod or track.
Why Use Blackout Lining?
Blackout lining is a kind of fabric with some properties to block out lights, so this fabric is suitable for bedrooms, home theater, or any room with light controls. Wait, there’s more – blackout lining also has some added insulating values to help keep the room warm in the winter and cool in the summer. It also boosts on privacy because the occupants are unable to be seen through even when the lights are on at night.
So having a clearer idea why pencil pleat curtains with blackout lining are perfect, let’s move into how to create them!
What You’ll Need
Before starting your project, gather the following materials:
- Curtain fabric: Select a fabric type which would fit well with other interior accessories in the room. Many layers of fabric like cotton rich or velvet are used for blinds but depending with the look you want, you can use skinny fabrics.
- Blackout lining fabric: This is a unique material that keeps out light and also acts as an insulator of heat.
- Pencil pleat heading tape: This is the secret to have those clean pencil pleat at the top of your curtain desings that you follow.
- Curtain hooks: It will fix your curtain to the roller or rail.
- Matching thread: It is recommended that one selects a thread color that would be similar with that of his or her curtain fabric.
- Pins, scissors, and measuring tape: Simple sewing accessories that are used to cut and pin fabrics.
- Sewing machine: Nevertheless, the job can be done manually, however, it is much easier, quicker and more accurate when done using a machine.
- Iron: Used for pressing seams and fabric to keep them from fraying and to create more professional look.
Step-by-Step Process to Making Pencil Pleat Curtains with Blackout Lining
- Measure Your Windows
Begin by taking measurements of the window there should be room made for the curtains. Take the curtain width or the track measurement and the height of the rod down to the ground. When you desire good drape you need to add length and width to it to give it room to move.
- Width: Your fabric has to be at least two times the width of your window. This makes sufficient fabric to accumulate into pencil pleats.
- Length: Increase the length of your curtain by 6-8” for hem and the header tape. You will also have to factor in the blackout lining since it has to be the same size as your curtain material.
Pro Tip: Remember to always measure twice before you cut any material!!!
- Cut Your Fabric and Blackout Lining
We can now determine the areas of the fabric to be cut as represented by the measurements given above. Unfold your curtain fabric and place on a flat surface, and use your measuring tape and fabric scissors appropriately mark and cut into the right size. Do the same thing with the blackout lining and ensure it has the same dimension as the curtain fabric.
The great thing about this type of sewing is that the same fabric is being used for both garments so it’s easy to ensure that everything is cut to the same size.

- Pin and Sew the Blackout Lining to the Curtain Fabric
Once your fabric is cut you are ready to attach the blackout lining. Lay one layer of the lining fabric over the curtain fabric and align the fabrics on top edges or corner.
- Pin the fabrics together: This is done by folding about half an inch of the edges of the blackout lining on the curtain fabric only, and pinning them securely. On the sides, and on the bottom of the curtained area there must leave an allowance for the curtain to be hemed later.
- Sew the top edge: Now it’s time to use your sewing machine again, turn the cover right side up, and with the blackout lining at the bottom and curtain fabric at the top, stitch a straight line along the top edge. This will help to maintain the lining in its right position and in the course of an operation it will not be displaced.
- Hem the Sides and Bottom
Then, it is time to turn the curtains up and h Hem the sides and the bottom of the curtains.. Press over about one inch of the curtain fabric and the blackout lining and then fold over again to neaten the edge. Pin these folds in place.
- Sew the sides: Stitch across the sides of the curtains, relining the curtain material and the blackout fabric in the same line.
- Hem the bottom: Do the same thing for the bottom of the curtains. This step brings a professional look for your curtains and leaves your house with a professional touch.
5. Attach the Pencil Pleat Heading Tape
Now it comes to the part I love most, indeed making those classic pencil pleats! The pencil pleat heading tape is fastened on top of the curtain where you can adjust the cords to shrink the material into creases.
- Cut the heading tape: Take the width of your curtain across the headers, and trim it down to the size you got as your heading tape. Put the tape to the edge of the curtain where you want the curtain to stop, it is placed just at the seam below lining.
- Sew the tape: Place the tape and iron it properly then sown right from the top of the tape down to the bottom but do not sew the cords inside.
- Gather the Pleats
Once the heading tape is sewed on said dress, you’re good to go for making the pencil pleats.
- Pull the cords: On the heading tape, use your fingers to carefully pull the cords which group the fabric into pleats. Continue to pull it until the curtain will fit properly to the size of the window.
- Tie the cords: When the pleats are formed, fasten the cords at each end to hold the fabric in its formed proper position. Pay particular attention to distribute the pleats throughout the curtain so they remain consistent.
- Attach Curtain Hooks
Last but not the lest, you should connect curtain hooks to the lining of your heading tape. Arrange the hooks 4-5 inches apart along the length and width of the curtain, and the hang them on the curtain rod or track.
Final Thoughts
It may sound like there are many steps to making pencil pleat curtains with blackout lining, but if broken down into steps then it is incredibly easy! You will get gorgeous, bespoke curtains, but the installation of the blackout lining will bring extra benefits such as light exclusion, privacy, and energy efficiency.
FAQs:
Why should I use blackout lining in my curtains?
Blackout is effective at preventing light from coming in and thus should be used in bedroom, nursery, or media room where light is not permitted. It also has an insulating effect: It makes your room cool during summer and warm during winter and there is privacy because no one can see inside from outside.
Can I add blackout lining to pre-made pencil pleat curtains?
Definitely, blackout lining can also be attached to ready-made curtains where you can sew the lining fabric to the back of the curtain. Remember to cut the lining just the size of the curtains and you have to join it to the curtain fabric at the top part of the facing as well as at the sides.
What fabric works best with blackout lining?
Cotton, velvet or linen materials are thicker and compatible with blackout lining and the thicker material adds to the features of the lining like heat retention or light exclusion. It is understood that this article of clothing is made with heavier fabrics- you can also use lighter fabrics if you prefer so.
How do I make sure the pleats are even when using pencil pleat heading tape?
If you want to have even pleats, use sheer force pulling the cords of the pencil pleat heading tape with due consideration while gathering the fabric for forming the pleats. When the curtain gets to the right width they want for the window, the cords should be tied to secure the folds.
Do blackout curtains require special care or washing?
Typically, blackout curtains should follow standard methods of washing curtains out of fabric material but be sure to look at the care instructions for the curtain fabric as well as the lining. To prevent a total loss of the effectiveness of blackout linings it might be necessary to use spot cleaning or dry cleaning only in case some types of blackout linings can be washed in washing machine.


