DIY Blackout Curtains: A Step-by-Step Guide

blackout curtains

Are you tired of the fresh sunlight coming through your windows in the morning? Are you a nurse and will you have night shifts? Do you need complete darkness at dawn? Blackout curtains are exactly that solution, but these curtains are quite expensive. Luckily, all you need to know is that it is very easy to sew homemade blackout curtains yourself using just a few very simple materials. That being said, below, we’ll explain step by step how you can make a set of blackout curtains yourself.

Why choose blackout curtains?

Blackout curtains are made to block any amount of light from entering the room. They are perfect for:

  • Improve sleep quality
  • Savings in energy costs which means insulating your home in the long run.
  • How to protect furniture from sunlight?
  • Home theater design: lighting

Necessary materials

blackout curtains
blackout curtains

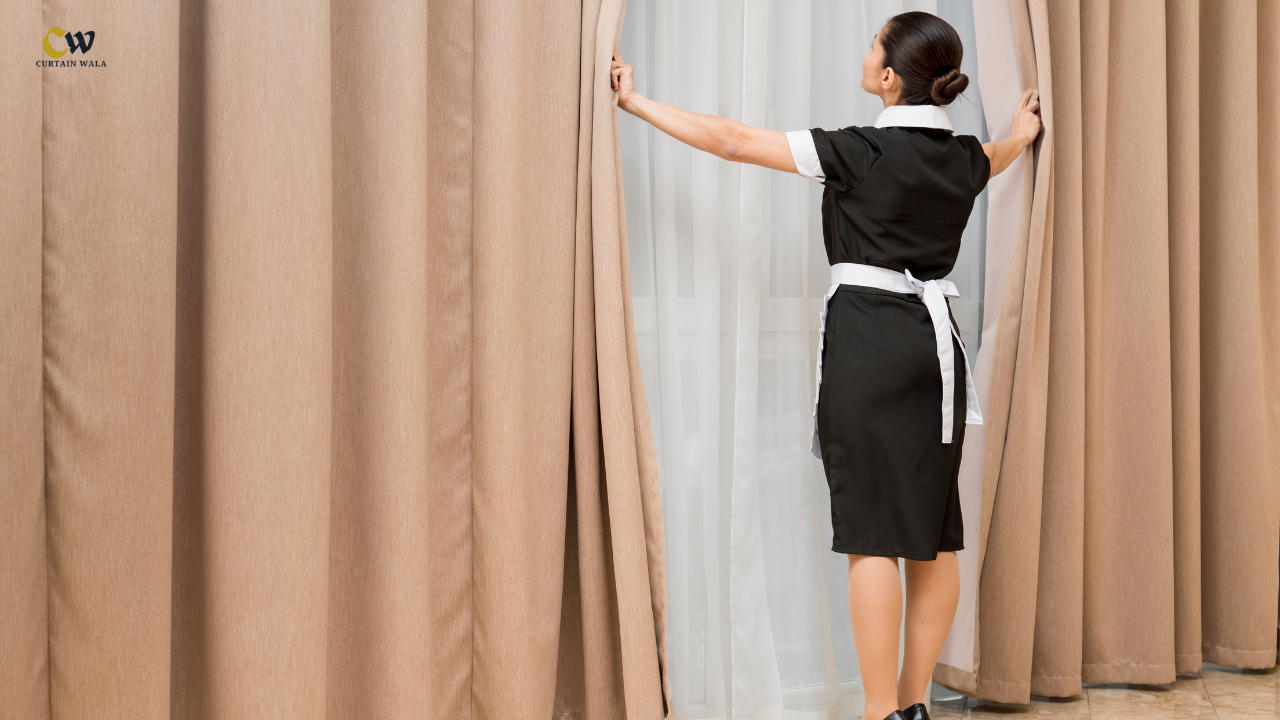
To make your own blackout curtains, you will need:

  • Fabric of your choice (the amount needed should be enough to cover your window plus coverthe seams)
  • blackout lining fabric
  • thread
  • sewing machine
  • Scissors
  • measuring tape
  • iron and ironing board
  • curtain rod and hook

Step by Step Guide

  1. Take the width and length Start your measurements with the width and length of the window. For width, include 8 inches for the overlap and 12 inches for the bottom and top hems in length.
  2. Cut your fabric Cut your main fabric and blackout lining to the size you got when calculating in step one.
  3. Press both fabrics to eliminate creases on the material to achieve a smooth finish on your fabric.
  4. Return the main fabric and lay out the fabrics, pin the fabrics together, placing your main fabric face down on a flat surface. Lay the blackout lining over it, keeping the edges straight. Sew them around the edges with a seam and join them together on the inside.
  5. Attach the edge using the straight stitch: Pin the fabric together on each long edge and, using the straight stitch, sew around the edges of the pinned fabric, leaving a ½ inch seam allowance.
  6. Make the bottom hem, bring the bottom part forward – fold it over 4 inches, iron and secure it. As you can see in the illustration above, sew along this fold to create a hem.
    blackout curtains
    blackout curtains
  7. Form the rod pocket, turn the curtain over, and measure down 4 inches from the top, then fold. Next you fold the section down another 4 inches, this is where the rod pocket will be designed. Pin and sew along the bottom edge of this fold.
  8. Hang Your Curtains The best way to hang these new blackout curtains is with the rod passing through the rod pocket.

Tips for Success

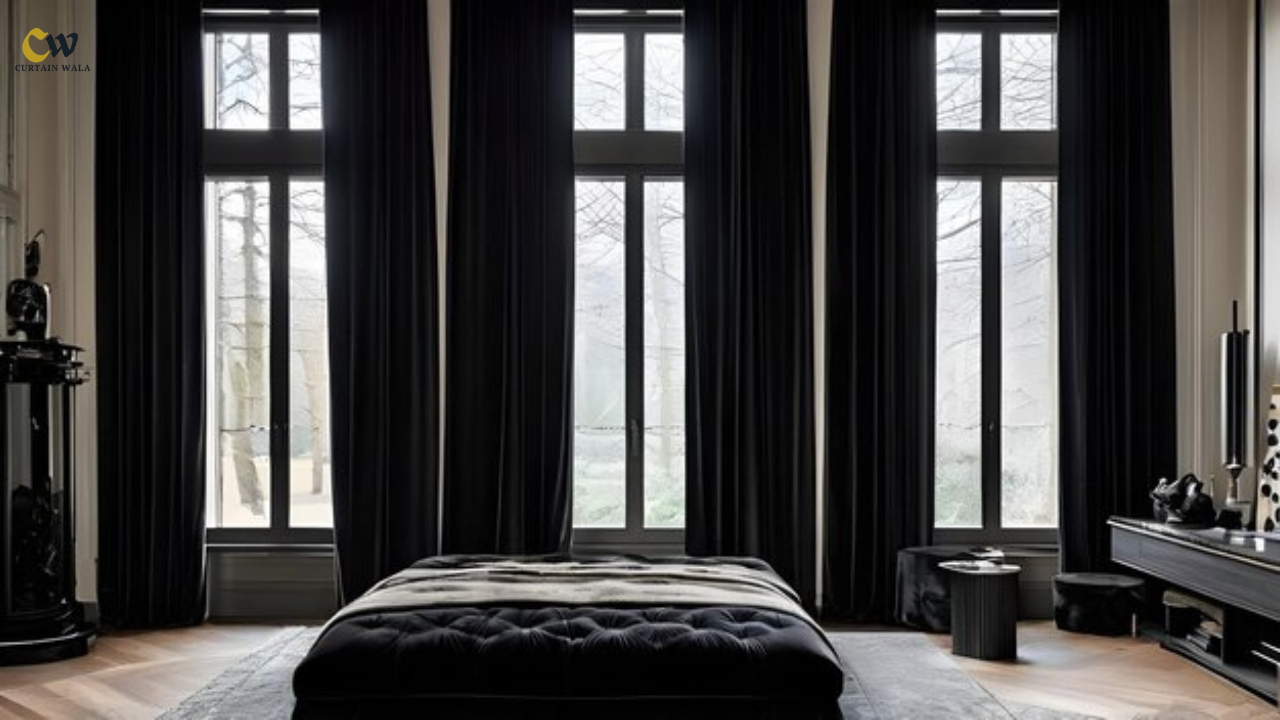
  • Select your primary curtain fabric to be dense, combined with additional weave for better black out ability.
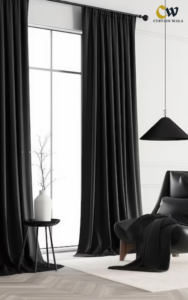
    blackout curtains
    blackout curtains
  • It is recommended to use thermal blackout lining for additional thickness on the lining material.
  • Make it a habit to wash your blackout curtains as often as possible to make sure they are still effective and looking good.

Making your own personal blackout curtains is affordable, and you’ll benefit from better sleep and better control of light around your home. So effectively, there is no reason why anyone can’t create their own blackout curtains to suit their decor without compromising the benefits of professionally made blackout curtains.

FAQs:

  • Q: How effective are DIY blackout curtains compared to store-bought curtains?

    If made correctly, DIY blackout curtains can be as effective as store-bought curtains. The key is using high quality blackout lining and ensuring proper installation to minimize light leakage.

  • Q: Can I make blackout curtains without sewing?

    While sewing provides the best results, you can make no-sew blackout curtains using fusible hem tape or fabric glue. However, these methods may not be as durable as stitched curtains.

  • Q: How do I clean my DIY blackout curtains?

    Most DIY blackout curtains can be machine washed on a gentle cycle with cold water. Always check the care instructions for your specific clothing. Hang to dry or use a low temperature dryer setting.

  • Q: Will blackout curtains help reduce noise?

    While primarily designed for light blocking, the thick fabric and lining of blackout curtains can provide some noise reduction. However, for significant sound insulation, consider special soundproof curtains.

  • Q: Can I add blackout lining to my existing curtains?

    Yes, you can add blackout lining to existing curtains. Simply follow the steps in this guide, treat your existing curtains as the main fabric and apply the blackout lining over them.

Leave a Comment

Your email address will not be published. Required fields are marked *

Scroll to Top